The main function of a camera lens is to collect light. The aperture of a lens is the diameter of the lens opening and is usually controlled by an iris. The larger the diameter of the aperture, the more light reaches the film / image sensor.
Aperture is expressed as F-stop, e.g. F2.8 or f/2.8. The smaller the F-stop number (or f/value), the larger the lens opening (aperture).

Understanding how the aperture and aperture priority work, will help you as a photographer gain control over exposure and these critical picture dynamics.
Setting the camera mode dial to aperture priority puts the camera into a semi automatic mode, which means that you will have to take care of other crucial setting such as white balance (read article about Photography and White Balance), metering and ISO. In this mode the shutter automatically changes to compensate for the different aperture settings.
Aperture and F-Number
The aperture is basically a hole behind the lens which allows the light to pass through the lens to the image sensor located within the body of the DSLR. The aperture uses numbers (F-Stops) corresponding to the different sizes of the aperture (or hole if you like).
1. Maximum Aperture
This simply states that the maximum aperture for the lens is F2.8.
2. Aperture Range
This states the max. and min. aperture, the assumption being that there are standard increments between them.
3. Maximum Wide-Angle and Telephoto Apertures
This gives the max. aperture for the wide-angle (F2.8) and telephoto (F3.5) focal lengths of a zoom lens.
Taking into account the factors above one can see how the three picture dynamics can be controlled.
A typical range of F-Numbers or F-Stops is
F 3.5, F4, F4.5, F5, F5.6, F6.3, F7.1, F8, F9, F10, F11, F13, F14, F16, F18, F20, F22
These numbers are the range available when using the 18-105mm AF-S NIKKOR lens, with the lens set to 18mm.When set to the other extreme of the lens (105mm) the F-Stop range changes from F5.6 to F36, and so it will change for each focal length. For example at 50mm the range will be from F5 to F32.
The increment value between F-Stops can be changed on many DSLR cameras. Typically the light is halved or doubled for each F-Stop increment.
Picture Dinamics
So what’s the big deal about using Aperture Priority? In most cases the beginner accepts the exposure set by the camera’s choice of shutter and aperture combinations. This still gives a good picture, but does not take into account the look of the picture in terms of depth of field, movement and frozen frames. The aperture setting can be used to control all these dynamics.
Given Factor
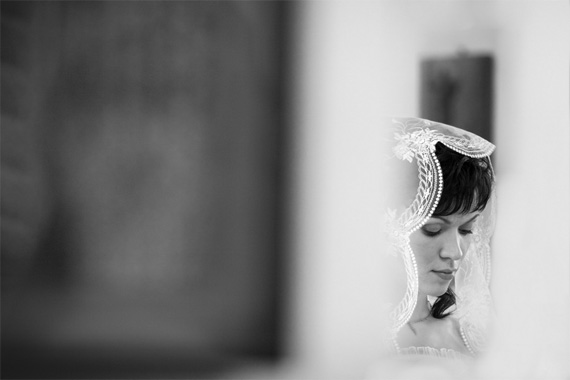
Depth of field: This is the area in front and behind the subject that is in focus. A small F-Number results in a very narrow depth of field, so the background and often the foreground is out of focus. This is great for portrait photography where the attention is focused on the subject. Because the shutter speed is normally high in this mode it is easier to shoot without blurring the picture. (read previous article about Create realistic Depth of field).
Movement through blur: Using a high f-number will force a slow shutter speed when the camera is set to aperture priority. This is great when you want your picture to show movement. A typical scenario is when shooting a waterfall (read article about Photographing water surface and waterfall). The water is blurred through movement while the rest of the picture remains sharp. A tripod is essential for this type of shot. The camera can be panned swiftly to follow a moving subject, keeping the subject sharp but blurring the background.
Freezing the subject: This of course depends on the shot you are attempting. Anytime you want to avoid blurry pictures, a faster shutter will become your best friend. The snag here is that the higher the shutter speed you use the more light you will need. A high F-Number will give a fast shutter speed when in aperture priority mode.
When you need a really fast shutter, keep an eye on the warning light in your viewfinder which indicates the shutter speed is cutting off too much light and the aperture range for that lens has been exceeded. This is a common problem.
A good example is when photographing birds. The best time of day to shoot is often when the light is low. A necessary compromise in these poor lighting conditions is to increase the ISO. Why compromise? Well too high an ISO introduces noise into the picture, influenced largely by the quality of camera model. This can be a nuisance when enlarging photos in post production.
Increasing the ISO increases the shutter speed, so one need to make a choice between capturing a great photo that is hard to repeat, or risk introducing noise.
Practice
Practice in manual mode and play with the shutter, aperture and ISO. Some cameras offer an anti blur feature which in essence is automatically creating the fastest shutter speed with the right combinations of the three (aperture, shutter and ISO).
Next time you are photographing the kids indoors, try getting the fastest shutter speed before resorting to your flash, which sometimes is the only way to avoid blurry shots.
Flexible Solution
aperture priority mode offers the most flexible exposure control when striving to create certain picture dynamics on demand. Experience will teach you when to use another mode such as Shutter Priority, Program Mode or Manual. The ultimate goal is to go manual and take full control of exposure and other features.
Related Article : The Art of Manual setting mode in SLR Photography
By Rob Gray is a media practitioner mainly in the field of video and photography. Rob is involved with training, production and consultation. Rob worked for the South African Broadcasting Corporation (SABC) in both radio and television.


