Infrared Light is not visible to the human eye. However, digital camera censors are capable of seeing the whole spectrum. The reason we cannot see infrared light in our photographs is because digital camera manufactures place filters over the censors that fully or partly prevent infrared light from contaminating the image.
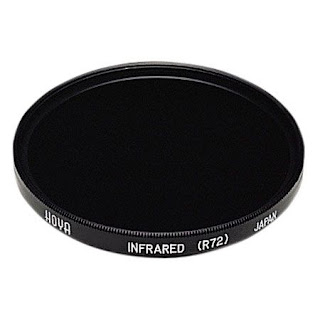
For the purpose of making Color Infrared Photography, one ways to make your digital camera read Infrared light by using Infrared R72 filter over the lens
Steps to test your camera for IR sensitivity:
For the purpose of making Color Infrared Photography, one ways to make your digital camera read Infrared light by using Infrared R72 filter over the lens
This is a great solution to try out digital infrared photography. Prior to investing in infrared filter it’s a good idea to test if your camera can read infrared light, first.
Steps to test your camera for IR sensitivity:
- Use Tripod: Place you camera on a tripod to avoid motion blur. IR filter lets in very small amount of light so your exposure will be too long for hand held shooting.
- Focus prior to attaching the IR filter. You need to do this because the camera can't 'see' the scene with the black filter on and therefore can't focus properly. Once desired focus is achieved switch to manual focus.
- Attach Filter. Screw on your R72 filter
- Push the button. Take take the photo.
- Experiment with Exposure. Try various shutter speeds. Start with 15 seconds at f8, iso 100
- White Balance: If your camera offers a custom white balance preset, take a picture of a gray or white card with the filter on. Make sure that direct sunlight is hitting the card. Refer to your camera menu for how to set custom white balance. If everything is still coming out red, you will have to adjust the white balance in Adobe Camera RAW or any other raw editing software of your choice. This is probably the trickiest part when working with infrared filters.
Article from http://www.learnmyshot.com/


