Photoshop Tutorials: WebZap Review: Create 960 Grid Layouts in a Zap |  |
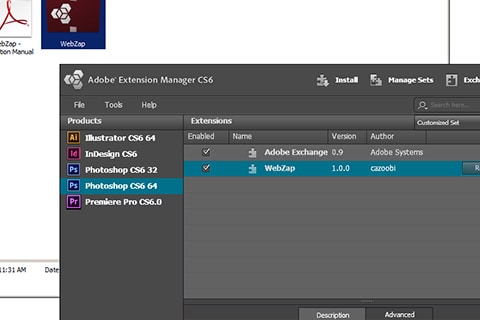
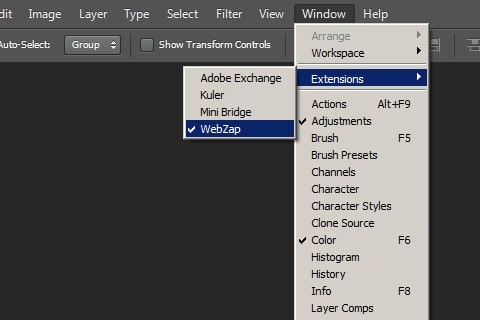
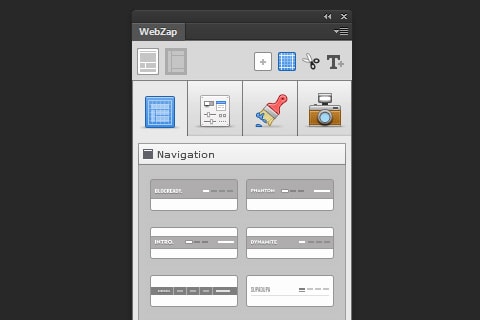
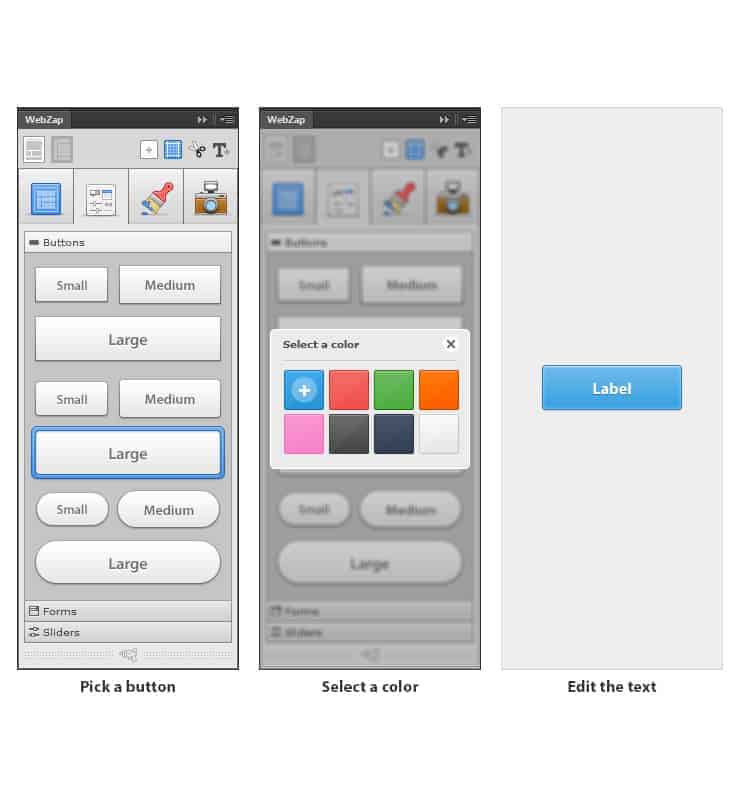
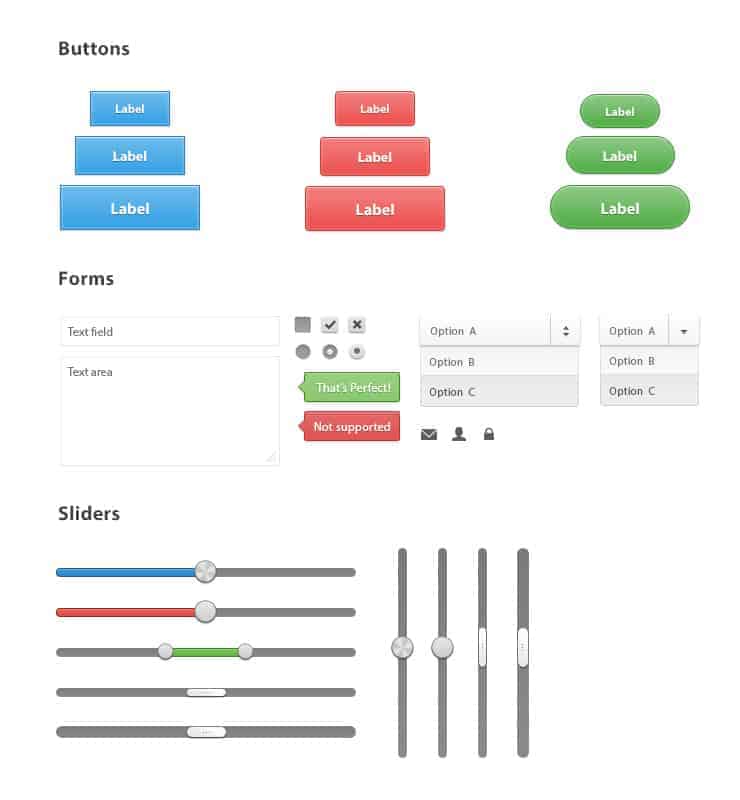
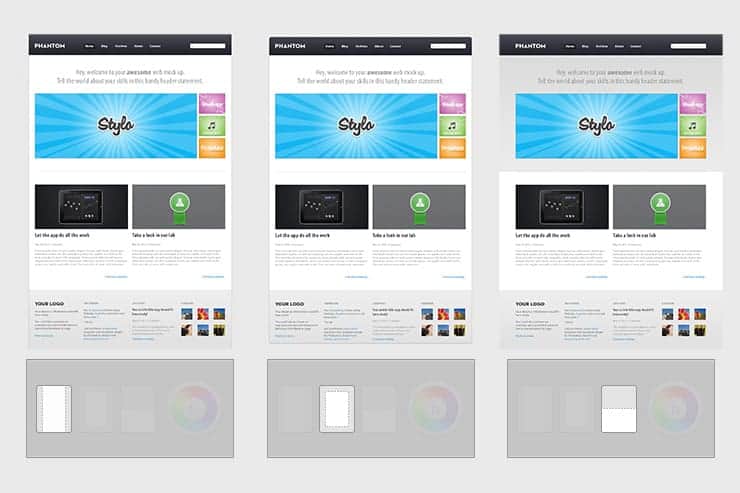
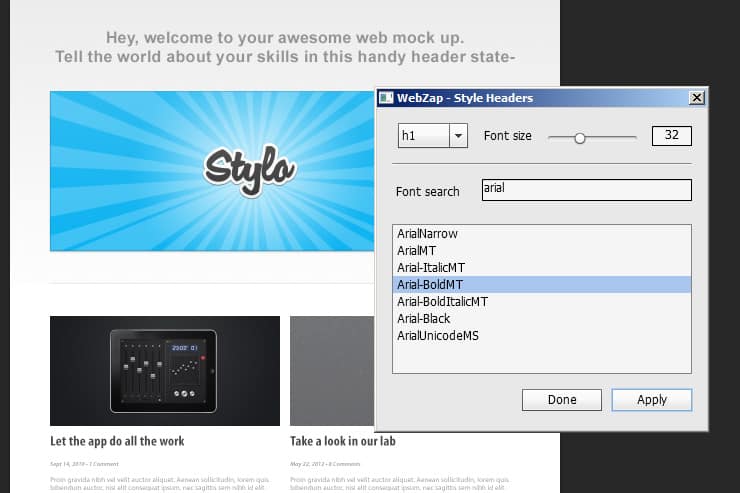
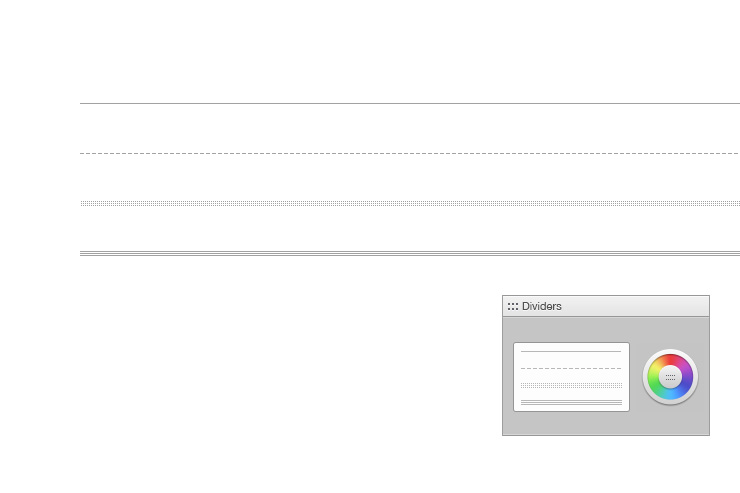
| WebZap Review: Create 960 Grid Layouts in a Zap Posted: 02 Nov 2012 04:06 PM PDT What is WebZap?WebZap is a Photoshop addon that lets you create web layouts fast. In fact, we were able to create a wireframe/mockup of our layout in minutes! This is one of our favorite Photoshop plugins for web designers and we’ll show you why. Easy Installation Through Adobe Extension ManagerInstallation is easy and WebZap does it right by doing it through Adobe Extension Manager; a convenient way to add/remove extensions for your Adobe products. This also means that you need Photoshop CS5 or newer to use WebZap. Once you have WebZap installed, you can access it from the Window > Extensions > WebZap menu. WebZap appears as a panel in Photoshop. The WebZap Panel 1. Select a layout. There are two types of layouts you can pick from and it is mainly based on where you want your navigation to be located (top or left). 2. The Layout tab lets you add a navigation, a feature area, and content. 3. Once you have your layout designed, the UI tab lets you add buttons, forms, and sliders easily. All of the items will appear as vector layers which means you can change the size and shape using Photoshop’s path tools. 4. The styling tab allows you to change the color, font, and other style features. 5. Finally, when you’re done with your layout, you can preview it with these auto-generating mockups. 4. This toolset area lets you create a new blank page, add layout guides based on the 960 grid system, snip your design into smaller parts, and create placeholder text layouts. Creating a LayoutI started WebZap skeptical about how useful it’ll be. But I was wrong. WebZap created a template with a logo, navigation, and fake-content automatically with just one click. All their templates conforms to the 960 grid system and the template elements are organized into groups with editable layers. You start off by choosing whether you’d like to create a template with the menu on the top or on the left. Once that is selected, WebZap will present you with 14 header or 9 sidebar navigation styles to choose from. Next, you choose the feature area. Finally, you complete it with a content layout to show in the fold. In 3 simple steps, you’ve created yourself a homepage layout. 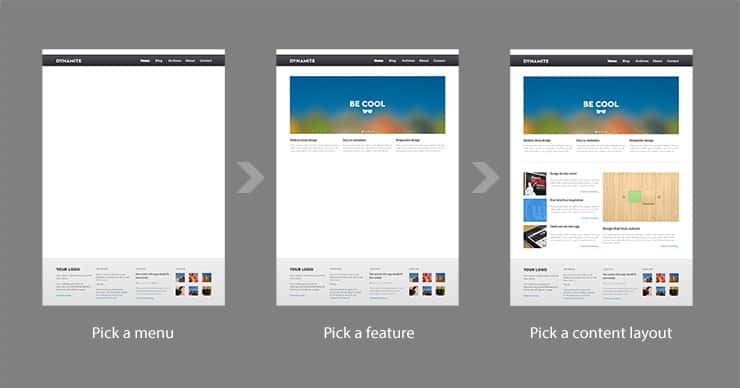 Editing the LayoutWebZap comes with a good number of premade layouts/styles and it doesn’t stop there. The layouts are organized into layer groups with vector shape and text layers. This means you can easily edit text and alter shapes (ex. backgrounds, buttons, etc.) nondestructively. One caveat is that if you rename the layer groups, WebZap will not update the content when you select a new style. This is because WebZap relies on the layer group names for identification. Instead, you will get a new layer group with the new content. 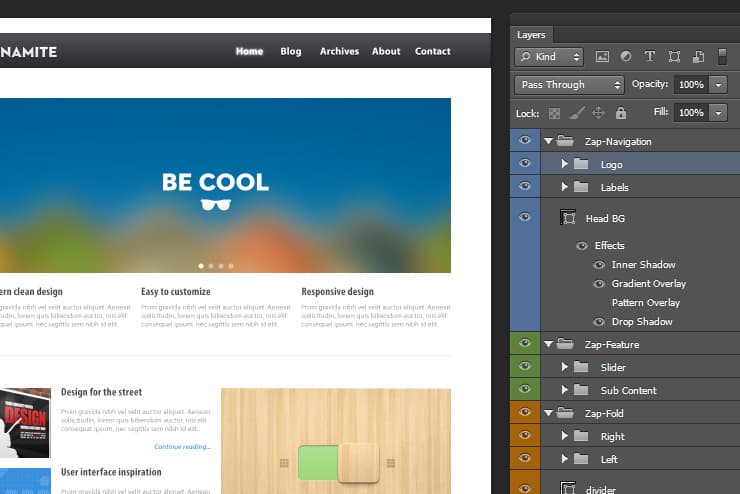 Adding UI ElementsAsides from creating quick web layouts, WebZap also lets you create quick buttons, forms elements, and sliders. There are the 3 common button shapes, 15 form elements, and 5 slider styles. Adding them is as easy as clicking. To edit them, you need to know how to edit layer styles and vector paths. Some UI elements let you customize the colors while others don’t. Styling the TemplateIn the styling tab, you can change the style and color for the frame, dividers, and text. They’re all perfect albiet the text styles. This area lets you customize the font styles for the header tags (h1, h2, h3, etc.) and it works great as it is, but we wished they used the new paragraph/character styles feature found in Photoshop CS6. Creating MockupsOnce you’re happy with your design, you can create mockups of your template in the preview tab. WebZap comes with 8 Apple-centric mockup styles:
Getting around the flattened mockupsWhile these are easy to use, we don’t see ourselves using it much. We’re hoping that in future updates, WebZap will come with more customizable mockups. The mockups are a flattened image but it is very easy to get around. Simply undoing a step (Ctrl+Z) will reveal a Smart Object. Double-clicking that Smart Object will reveals the layers. 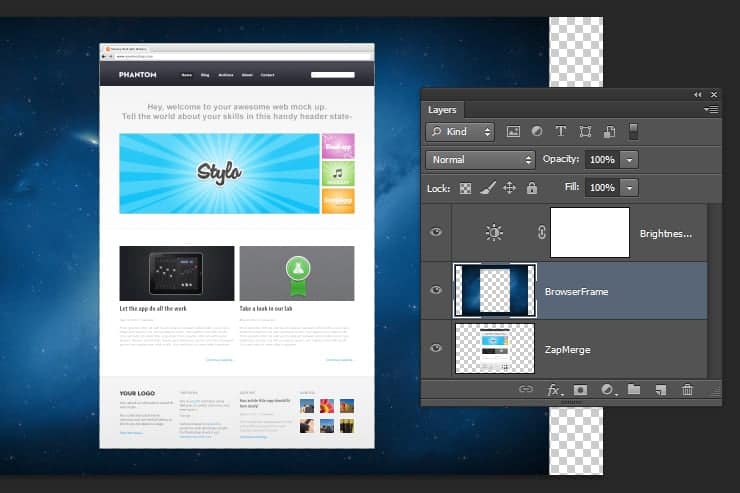 Additional ToolsWebZap comes with additional tools that let you create a new 1100x1550px document (1), add layout guides based on the 960 grid system (2), snip layers/groups for easier PSD to HTML conversion (3), and generate Lorem Ipsum text layouts (4). 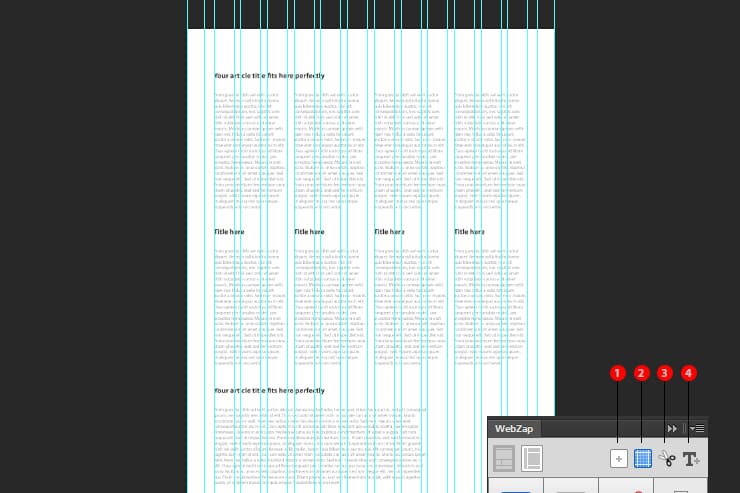 Verdict: A must-have Photoshop extension for Web DesignersWebZap feels and works like a Photoshop action set organized in a panel. It comes with the most common layouts and creates them in editable vector shape and text layers. It’s so easy-to-use that any beginner will figure it out, but you still need to understand the basics of the 960 grid system and how to edit vector shapes & styles. WebZap isn’t meant to replace your web design process – it’s meant to compliment it. Use WebZap to a quick wireframe then refine it with your own Photoshop skills. We wished WebZap had an option to use Photoshop CS6′s Paragraph/Character styles instead of their own system and we’re hoping for to see more layout styles and UI elements in their future updates. The best part about WebZap is that you can mix navigations, headers, content, and amazingly fast. This lets you play around with different layouts to find one that fits your project or generate several layout mockups in minutes so that your client can pick a layout and let you focus on the design. All of this for only $15 |
| You are subscribed to email updates from Photoshop Tutorials To stop receiving these emails, you may unsubscribe now. | Email delivery powered by Google |
| Google Inc., 20 West Kinzie, Chicago IL USA 60610 | |


